How to Set Up an EPS Cutting Line: A Practical Production Workflow
Setting up an EPS cutting line is one of the most rewarding steps when you move from raw EPS blocks to finished sheets, panels and custom shapes. A well-planned line turns bulky foam blocks into precise, sellable products with minimal waste. This guide walks you through a practical, shop-floor workflow you can follow when installing a YouXin EPS cutting line in your factory.
What an EPS Cutting Line Actually Includes
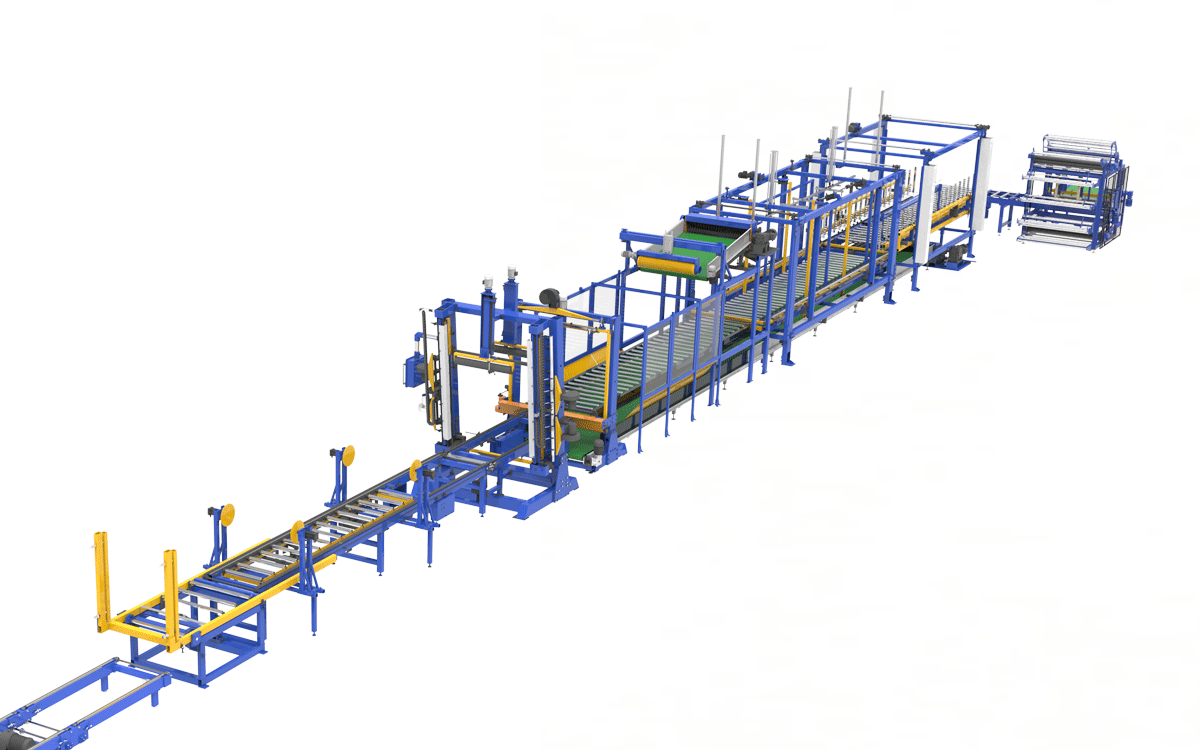
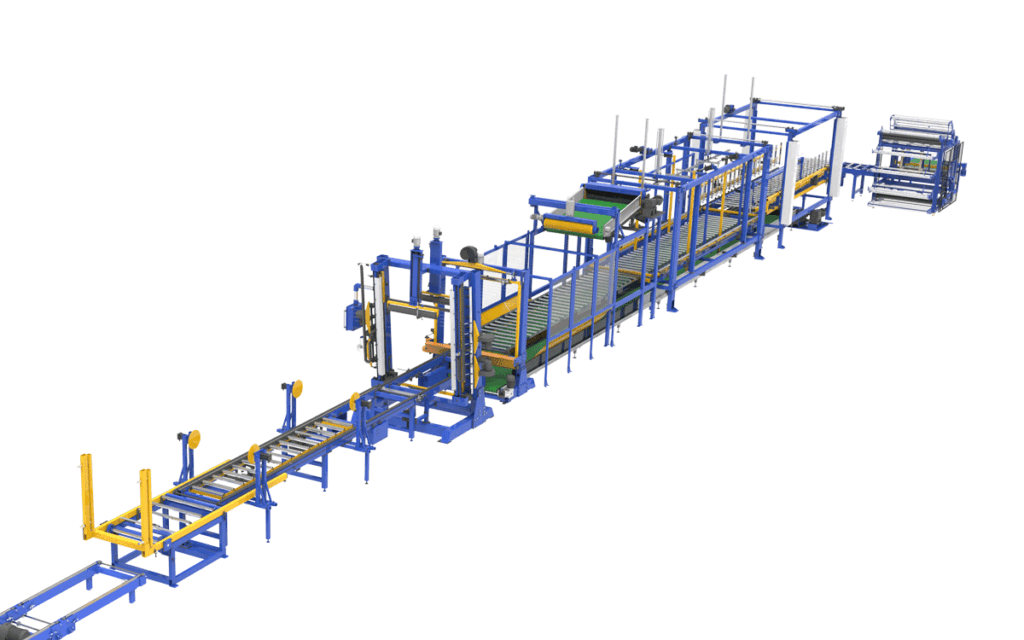
A complete cutting line is more than a single hot-wire machine. At minimum it combines a stable cutting bridge, a conveyor or gantry system, a wire-tensioning mechanism, a control cabinet (often CNC or PLC based), and a dust/trim collection area. On YouXin lines the EPS cutting line is engineered so the bridge, wire setting and control system talk to each other from the first power-on.
Step 1: Site Preparation and Layout
Start with a flat, level floor and enough clear space for block feeding, cutting and finished-product stacking. Allow roughly 1.5–2× the machine length for material flow. Make sure you have a stable three-phase power supply and a dedicated earth line — cutting accuracy depends on clean power.
Step 2: Installing the Conveyor and Cutting Bridge
Bolt the bridge rails to the foundation with the supplied templates. Check rail parallelism with a dial indicator; even a 1–2 mm deviation multiplies into cutting errors over a 2–4 m block. Mount the conveyor so blocks sit square against the side guide.
Step 3: Wire Setting and Tensioning
This is where automation pays off. A CNC cutting machine lets you load a cutting program and auto-set wire positions, but a manual line still benefits from clear wire-position charts. Tension each wire evenly — uneven tension causes bowed cuts and frequent wire breakage.
Step 4: Connecting the Control System
Power up the PLC/HMI, load the demo program, and verify homing of all axes. Run a dry cycle (no block) to confirm travel limits and that emergency stops halt motion immediately. Calibrate the cutting speed against wire temperature for your bead density.
Step 5: First Test Cuts and Calibration
Make your first cuts on scrap blocks. Measure finished thickness with calipers at several points; if tolerances drift, adjust wire offset in the software. A good line holds ±0.5 mm on sheet thickness consistently.
Safety and Operator Training
Hot wires operate near 200–300 °C. Train operators on guards, ventilation and fire prevention before production. YouXin provides on-site or remote training so your team is confident from day one.
Why Choose YouXin for Your Cutting Line
Beyond the hardware, YouXin supports layout design, installation guidance and spare parts for the EPS cutting machine family. Whether you need a simple vertical cutter or a fully automated CNC line, we help you match capacity to your market.
Conclusion
A careful setup — level foundation, parallel rails, even wire tension and a calibrated control system — is what separates a frustrating install from a profitable one. Contact our team for a tailored cutting-line proposal and factory layout.