
EPS Cutting Wire Temperature and Speed Settings: A Practical Guide
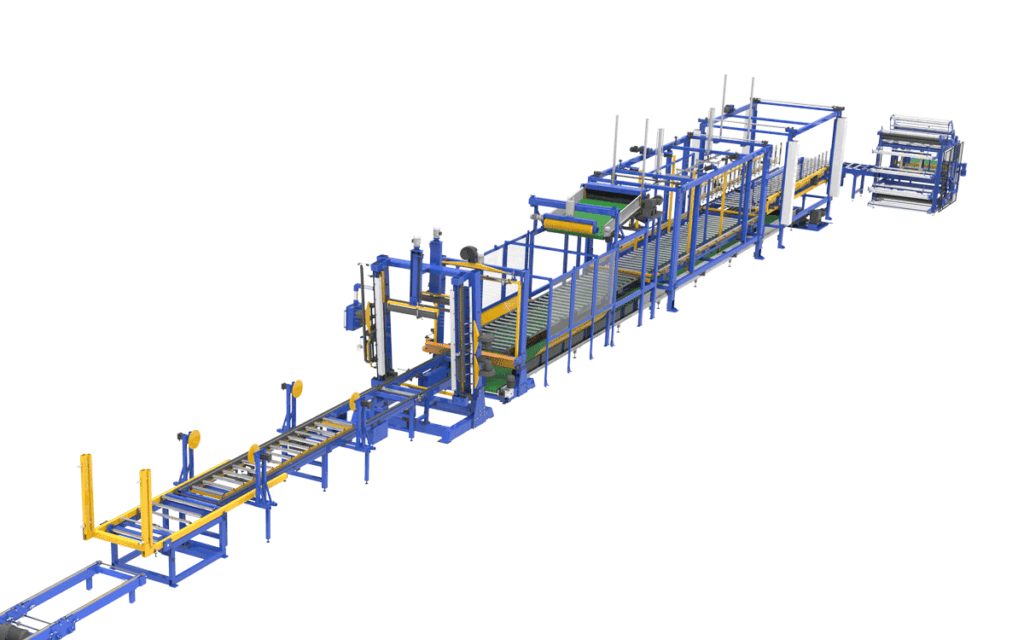
Ask two operators why a cut edge came out ragged and you will get two different answers: one blames the wire, the other blames the block. Both are usually half right. On an eps cutting line, wire temperature, feed speed and block density are not three independent knobs, they are one system, and turning any one of them changes the ideal setting for the other two. This guide explains how they pull against each other, how to find a starting point with a few trial cuts, and which faults point to which setting. The numbers quoted here are real reference figures for our SPQ cutting line; everything else is method, not specification.
The three-way tug of war
A hot wire cuts EPS by melting a thin path through the foam rather than by slicing it. The wire has to deliver enough heat to melt that path, but not so much that it widens the kerf, leaves a glossy melted bead, or drags a string of residue along the edge. Heat delivered per millimetre of travel is the real variable, and it is set by wire temperature divided by feed speed. Turn the speed up and each millimetre of foam sees less heat; turn the wire hotter and it sees more. That is the first link in the chain.
Density is the second. A denser block contains more polystyrene per cubic metre, so there is more material to melt along the same path and more heat is absorbed. At 15 kg/m3, a common reference density, a given wire setting behaves one way; at 20 to 30 kg/m3, the same setting will struggle, the wire will drag, and the edge will show it. The practical rule is simple: low-density blocks cut faster, and denser boards need the feed backed off. If you treat density as a fixed background condition, you will chase it forever at the wire.
Wire condition is the quiet third factor. A wire with oxidised or beaded sections, uneven tension, or a sag in a long span does not deliver uniform heat, so no amount of speed adjustment will give a clean face everywhere. Before you change a single setting, confirm the wire is clean, evenly tensioned and at a consistent temperature along its length. Most “setting problems” on a long cut are really maintenance problems.
Finding a starting point with trial cuts
Do not start from a number someone wrote down for a different density. Start from a controlled trial. Take a block at your actual production density, set the wire to a moderate heat, and run a short cut at a deliberately slow feed. Inspect the edge: a clean, square face with a light, even melt is what you are after. Then raise the feed in small steps, cutting a fresh section each time, until the edge just begins to show drag, striations or uncut beads. Back off one step and you have a workable starting speed for that density and that wire temperature.
Now change one thing at a time. If the edge is beaded and glossy, the wire is too hot for the speed: either lower the heat or raise the feed. If the edge is rough, torn, or shows uncut beads and the wire bows in the cut, the path is starved of heat: raise the heat or drop the feed. Keep a written note of the density, wire setting, feed and the resulting edge for each trial, because memory is a poor logbook and the same block will behave differently after a different maturation time.
Repeat the trial whenever the density band changes or a new bead lot comes in. A setting that is right for 15 kg/m3 is not a setting, it is a starting point that has to be re-found for 25 kg/m3 boards. This is the step most plants skip, and it is why the same line can produce perfect boards in the morning and ragged ones after a density change at midday.
SPQ cutting line reference settings
The figures below are published reference values for the SPQ cutting line family and general density behaviour. They are starting points for a trial, not guarantees for every foam, and no tolerance or edge-quality numbers are implied.
| Parameter | Reference value | How to use it |
|---|---|---|
| Cutting speed, SPQ-2000B to SPQ-6000B | About 1.8 to 2.0 m/min at 15 kg/m3 | Use as the trial starting point at the common reference density, then adjust for your actual block |
| Common reference density | 15 kg/m3 | The density the headline speed figure is quoted against |
| Higher density boards | 20 to 30 kg/m3 | Reduce the feed; more material per path needs more heat per millimetre |
| Lower density blocks | Below the reference band | Can be cut faster, but watch for a wide kerf and a soft, melted edge |
| Wire temperature | Set by trial, no fixed value | Establish from a slow test cut, then balance against feed; re-find it for each density change |
| CNC cutting reference | Platform 3000 x 2400 x 1200 mm, 0.3 to 0.6 m/min, 11 kW | Separate machine class; use its own figures rather than the SPQ line speed |
Reading bad edges and residue
Glossy, beaded edges with a hard melted skin mean too much heat for the speed: lower the wire temperature or raise the feed, and check that the wire is not arcing at a dirty contact. A rough, torn face with loose beads means too little heat: raise the temperature or slow the feed, and confirm the wire is up to temperature along the whole span. A curved or bellied cut, where the wire bows behind the block, is the classic signature of a feed that is too fast for the heat available; it is a heat problem wearing a mechanical disguise.
Residue and hanging dross, those little strings of re-solidified foam clinging to the lower edge, usually point to a wire that is running hot at a slow feed or to a wire that is not clean. Wipe or replace the wire, then re-balance. If only one end of a long cut is bad, suspect uneven tension or a cold joint rather than the global settings. And if every density and every setting produces the same rough edge, stop adjusting and look at the block itself: poor fusion or a wet, under-matured block will defeat the best-tuned wire.
Dialing in the settings, step by step
- Confirm the wire. Clean, evenly tensioned, at a stable temperature along the full span, before you touch any setting.
- Measure the block. Know the actual density of the block in front of you, not the nominal target on the order.
- Start slow. Set moderate heat and a deliberately slow feed, then make a short trial cut and read the edge.
- Raise the feed in small steps until the edge just begins to drag, then back off one step to find the working speed.
- Adjust one variable at a time. Log density, wire setting, feed and the edge result for every trial.
- Re-find the setting whenever density, bead lot or maturation changes, and re-check after any wire replacement.
Common mistakes and a counterintuitive trap
- Setting speed from a spec sheet without a trial. A reference figure is quoted at a reference density; your block is never exactly that block.
- Turning up the heat to fix a rough edge. If the wire is bowing, the real fix is often a slower feed, because heat per millimetre is what matters.
- Blaming the wire before the foam. A wet, poorly fused or under-matured block will cut badly at every wire setting.
- Changing three settings at once and keeping no notes. You will never know which change helped, and the next density change starts from zero again.
- The accounting trap: a slightly slow feed looks like lost output, so the instinct is to push speed until the line “feels” productive. But a ragged edge that has to be re-cut or downgraded costs far more than the seconds saved, and it hides the fact that the wire, not the clock, was the bottleneck. The fastest usable setting is the one that needs no rework, not the one that clears the block quickest.
Frequently Asked Questions
Why does a denser block need a slower feed?
There is more polystyrene per cubic metre to melt along the same path, so each millimetre of wire travel absorbs more heat. Backing off the feed restores the heat delivered per millimetre and keeps the edge clean.
What is a sensible starting speed at 15 kg/m3?
The SPQ cutting line family is quoted at about 1.8 to 2.0 m/min at 15 kg/m3. Treat it as a trial starting point for that reference density, then find your own working speed with short test cuts.
What causes a glossy, beaded edge?
Too much heat for the feed: lower the wire temperature or raise the speed. Also check for a dirty contact arcing at one point on the wire, which can produce the same symptom locally.
Why does the wire bow in the middle of a long cut?
The feed is outrunning the available heat, so the wire is being dragged through foam it has not melted. Slow the feed or raise the temperature, and confirm the wire is evenly tensioned.
Do the block moulding settings affect cutting?
Yes. Fusion quality, moisture and maturation all change how the foam behaves at the wire. If no setting gives a clean edge, look upstream at the eps block molding machine and the bead conditioning rather than the cutter.
Wire temperature, feed speed and density only make sense as a set, and the fastest way to a clean edge is a short, logged trial rather than a number copied from a brochure. If you are matching a new block size to a cutter, compare an eps cutting line with an eps cnc cutting machine for shaped work or a simple eps cutting machine for straight sheet, and consider how boards leave the line on an eps packaging machine for block. You can always contact our team to talk through a density band and a starting setting.